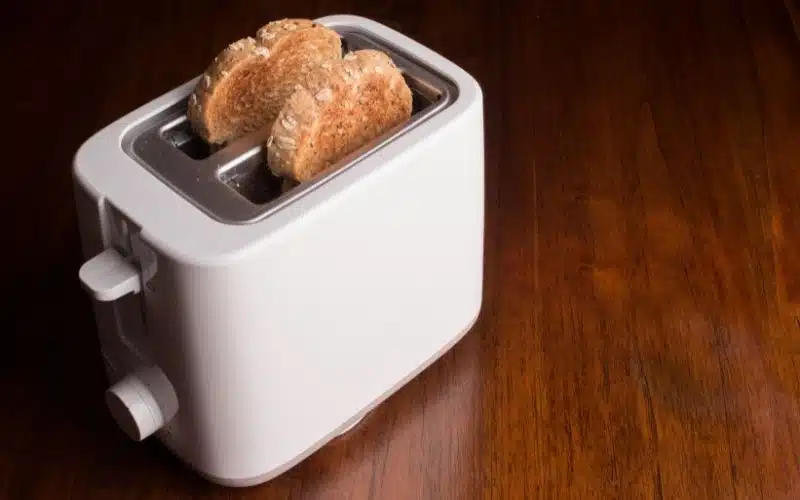
The KitchenAid toaster is an excellent appliance for making your toast. It is easy to use, and it comes with a range of features that make it a favorite among consumers.
However, even these KitchenAid toasters sometimes encounter problems that you need to troubleshoot.
When this happens, there are many steps you need to take to ensure that the troubleshooting is effective.
If you own a KitchenAid toaster and are facing problems with it, there are things you can do to troubleshoot them. The first thing to do is plug the power cord into the outlet and make sure that it is not cut. Then, if your toaster is still not working, unplug it for a few minutes and plug it back in.
How to Troubleshoot A KitchenAid Toaster Oven With No Power?
 1")
Troubleshooting a KitchenAid toaster oven with no power can be frustrating and time-consuming if you do not know what to look for. However, it is easy to resolve some issues on your own.
If troubleshooting is unable to ascertain where the fault is coming from and fix it, then it is likely a fault present within the internal parts of the toaster.
These parts are way too technical for you to fix yourself. Get professional help to repair your toaster.
Find out why your toaster is not turning on with the following steps:
#1. Check The Power
Plug the toaster oven into an outlet. If there is no power to the toaster, check if the outlet works by plugging in another appliance you are sure works.
This will let you know if the problem is from your outlet or the toaster.
#2. Check The Fuse
A broken or defective element can cause your oven not to heat. Before replacing the component, check the fuse for any signs of damage or failure and replace them.
Next, flip off the wall switch (or where your household fuse is located) and remove the back panel from your unit.
Unscrew the front cover of the panel by unscrewing it at the bottom of the unit using a screwdriver. Fuses that are black or cloudy are the fuses that have blown up.
Just look for discoloration or any signs of burning or melting around them.
Replace the blown fuses. Turn back on the tripped breakers. If there is still no power after replacing the fuse, move on to the next step below.
#3. Check the Power Cord
You might want to check the power cord. First, make sure that it is plugged into an outlet working.
You may also want to check that there are no obstructions around where the cable meets the wall outlet. These obstructions could cause issues with power flow.
Also, check to ensure it is securely connected to both sides of the appliance.
If you still have no power in your KitchenAid toaster oven, try unplugging it for fifteen minutes and then plugging it back in.
If your KitchenAid toaster oven still does not power on, the power cord may have come loose or disconnected from the appliance.
If it still does not work after checking these things, read on. It is also possible that something else is causing the problem.
#4. Check The Heating Element
Suppose the cord or fuse works perfectly; conduct tests on the heating element. First, you’ll need to unplug the appliance.
Next, turn the toaster upside down and remove the screws with a screwdriver.
Slide the side panels of the oven. Next, remove and test each heating element with a multimeter device.
If the reading of any heating element is not found in-between the values 10 to 18 ohms, you should replace that element.
#5. Get Professional Help
If the toaster is still faulty, you should take it to a professional for repairs or servicing.
How Do I Reset My KitchenAid Toaster?
To reset your KitchenAid toaster, you will need to do the following:
- First, turn off the circuit breaker(s) to power the unit down for one minute.
- Then, turn on the circuit breaker(s) to power the unit up.
- Commence a bake cycle.
- Make sure the error code doesn’t show again by monitoring the oven for one (1) minute.
- Assess the oven operation.
How Do You Fix The Lever On A KitchenAid Toaster?
KitchenAid toasters are a great addition to any kitchen.
They are stylish and easy to use. However, sometimes the lever on your toaster will get stuck and not pop back up after pressing it down.
This can be frustrating when trying to toast your bread and have a family member or guest waiting for their toast!
Follow these steps to fix your toaster lever problems and leave your toaster working perfectly:
#1. Step 1
Unplug your toaster before doing anything. Remove the screw nuts that hold your toaster together. Set them aside for later use.
Next, take the crumb tray out of the slot at the bottom of the toaster and keep it apart from the rest of the parts.
Take off the cover of the toaster lever.
#2. Step 2
Pull the time control knob, which can be found on the toaster’s front parts. Just apply a little force to the time control knob, and it should pop off easily.
#3. Step 3
Next, you need to turn the KitchenAid toaster upside down. Then, with the needle-nose pliers, detach the cover of the rubber screw on each of t the toaster’s bottom corners.
#4. Step 4
Unscrew the 12.5 mm Phillips screws. The locations of the screw nuts are underneath the rubber covers.
#5. Step 5
Take out the toaster’s bottom part from the top shell. Make sure you are careful when carrying out this operation so you don’t lose or break any fragile component of the toaster.
Then set the toaster in its normal standing natural position.
#6. Step 6
Find the metal lever catch (it will appear damaged or broken) by the large spring’s right. It should resemble a paper clip. Take it out carefully with the needle-nose pliers, or you can use your fingers.
#7. Step 7
With the needle-nose pliers, pull off the pieces of the damaged metal lever catch left.
#8. Step 8
Pick a new paper clip with the needle-nose pliers.
Bend the paperclip into a hook shape structure so it can loop around the divots present on the plastic lever.
#9. Step 9
Put the recently bent paper clip on a plastic lever intertwining it in the divots. Keep in mind that as the major spring drops, it’ll commit the paperclip to nudge down the lever.
When this happens, the magnet gets in on the action, and the timer on the KitchenAid toaster starts counting.
The toaster will work perfectly if the paperclip remains fastened on as the magnet keeps the toast down. The paperclip’s primary mission is to expand the toaster’s lever so it can function.
Use a sticky substance such as an adhesive to fix the paperclip and the plastic lever together.
Why Is Only One Side Of My Toaster Working?
If you find that only one side of your toaster is working, there are a few things you can do to fix the problem. First, check to ensure that both sides of the toaster are plugged in.
If they are not, plug them both back in and try again.
If this does not solve the issue, check all wires and cords for damaged or frayed areas that could be causing an electrical short.
If you are still having trouble with your KitchenAid Toaster, you may need to replace some parts. You may also need to check your KitchenAid toaster user manual.
Conclusion
If your KitchenAid toaster develops faults or fails to function as it should, a troubleshoot helps to determine the exact problem.
In most instances, checking individual parts helps to point out exactly where the issue emanates.