Home appliances like the washing machine are relevant because of the constant use and ease with which it allows work to be done.
However, due to its continuous use, the washer might develop leaks in the tub, which could inconvenience your laundry time and may sometimes be potentially disastrous to your home.
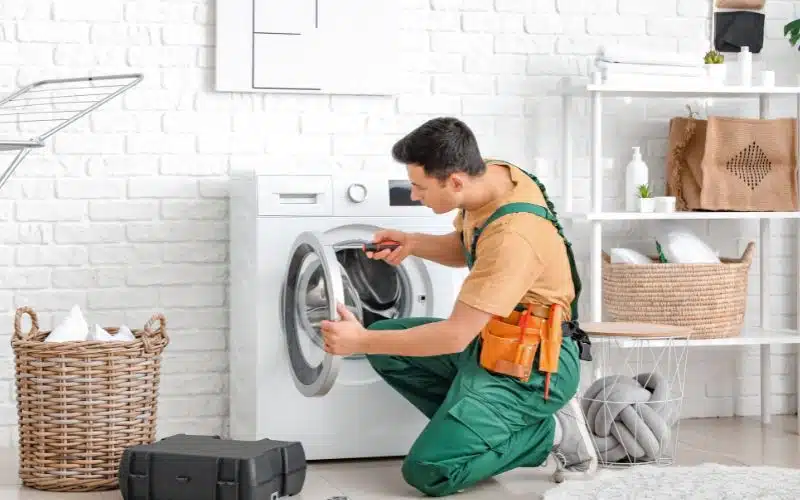
If your Maytag washer leaks water into the washer tub, then the fault is most likely from the washer water inlet valve. The inlet valve is at the back of your washing machine. It manages water flow to your washing machine. If your inlet valve is faulty, replace it to stop the leakage.
Why Is My Maytag Washer Dripping Water Into the Tub?
The washing machine drips water into the tub due to the water inlet valve fault. It regulates the entry of hot and cold water into the washing machine.
The valve is attached to solenoids that open, so that water can fill the washer and closes when switched off. The tub will overfill if the valve remains open when the solenoid closes.
Sometimes, a faulty water inlet valve is not the cause of a leaking washer.
Some factors that could cause a washer to drip water into the tub are:
#1. Water Pressure
Though this is a rare case, it could also cause your washer to drip into the tub. This is because the water pressure needs to be high enough to close the water valve completely.
If the water pressure is not enough, the washer will overfill the tub. If this is the problem causing your load washer to leak, employ the services of a plumber.
#2. Main Control Board
After checking for the above faults, and the washer leakage persists, the flaw might be from the control board. The control board regulates the cycles and washer functions.
If the control board is not corresponding with the inlet valve or switch, it must be faulty, and this causes the washer to leak into the tub.
#3. Water Level Switch
The water level switch is a tension switch that regulates the filling of water into the tub. There are two sets of contacts on the control switch.
The first set of contact transmits power to the washer water inlet valve, which prompts the tub to fill.
The other pair sends power to the motor to start the wash cycle as the tub fills up.
If you use a top-load washer, you can find the switch behind the water level control knob in your control panel. However, if it is a front-load washer, the lever is under the top cabinet.
The fault, in this case, is a fused contact. If your contacts are fused, use a multimeter to check if the switch still has an electric current.
If it does not carry an electric current, it needs replacement.
How Do I Know if My Washer Water Inlet Valve Is Bad?
You might not notice the leakage in the washer early until it gets worse. Preventing or stopping the problem earlier would save you repair costs.
You should endeavor to troubleshoot and test to check if your inlet valve is bad.
Though, before doing that, understand how the inlet valve works.
#1. How To Test and Check for Bad Water Inlet Valve
If you are not sure your water inlet valve is faulty, these guidelines will help you test and check if your inlet valve is at fault.
- Switch the washer on and let it fill up.
- While it fills up, turn off the power.
- If the washer keeps dripping into the tub, the inlet valve does not close, which means it is faulty and needs replacement.
#2. Pieces of Equipment Required To Fix a Water Inlet Valve Problem
Before attempting to fix your inlet valve, ensure you have the following tools for repair:
- Protective gloves
- Pliers
- Flashlight
- Screwdrivers
- Bucket/towel
- Vinegar
- Multimeter.
#3. How to Repair Your Water Inlet Valve
This is a comprehensive guide to help fix your inlet valve problem.
After following this guide, your washing machine should eliminate any inlet valve problem. If it is not, seek the help of a professional.
#4. Turn Off the Washer
Safety is always essential. The first step is switching off your washer and unplugging it from the power outlet.
Try to get a comfortable enough space so you can work on the washer with ease. Next, turn off the water supply for hot and cold water.
There are water supply valves, for hot and cold water. With the bucket, get rid of the water inside the hoses.
#5. Clean the Inlet Valve Filter Screens
Separate the filter screens from the hose fitting ports with a pair of needle-nose pliers. You might need a flashlight here.
Examine the filter screen for dirt build-ups. If it is dirty, clean it with a water and vinegar mixture.
Once done cleaning, secure the hoses together, run the washer on empty, and check for leakages.
#6. Run Tests on the Inlet Valve Solenoids
If you still see signs of leakage after running the washer on empty, then the filter is not the problem. Instead, the problem is most likely the solenoids.
Follow the instructions on your user manual to get access to the solenoid.
Once you access the parts, find the wires connected to the solenoid, carefully unplug the cables, and label them to avoid making the wrong connections later.
On your multimeter, set your ohms resistance scale to X 1. To check for electric continuity in a solenoid, link each meter probe to a terminal on each solenoid.
The usual reading varies by the brand you use, but your meter should not show zero. If it does, your solenoid is faulty, and the valve needs replacement.
#7. Replace Your Water Inlet Valve
Ensure you ordered the correct replacement valve. It should be made for your washer’s brand.
Label and disconnect the wires attached to the solenoid. Next, remove the hose clasp joining the inlet valve and the water tubes.
Install the new inlet valve and couple the machine together.
How To Clean Water Inlet Valve on Maytag Washing Machine?
The water pulled into your washing machine from your water supply is usually mixed with particles of hair, dirt, or rust.
The inlet valve screen protects the washer water inlet valve from being filled with these particles.
For this reason, it is necessary to clean the inlet valve regularly to prevent build-up in the screens.
Step-by-Step Guide on How To Clean the Water Inlet Valve
- Unplug the washer power cable from the outlet.
- Carefully position the washer so you can work comfortably with it.
- Switch off the water supply valves for the cold and hot water inlets.
- Disconnect the water supply hoses from the back of the washing machine.
- Remove the water inlet screens and dust out any dirt.
- Place the clean water inlet screens back into the washer inlet valves. Then, tightly plug in the water supply hoses.
- Plug the washing machine back into the power outlet.
- Run a test on the empty washer to check for leaks.
Conclusion
A dripping washing machine can be hard to repair if you don’t know the problem. The washer water inlet valve is most likely the cause of the leakage in the tub.
Testing the water inlet valve before repairing it is necessary to determine the cause of the washer leakage.
With the information in this article, you can find out the cause of the leakage and perform the repairs yourself, if need be.