With the evolution of technology, new inventions such as Roomba vacuum cleaners are now accessible and easy to find in most homes.
And though they come in handy in keeping your home clean and tidy, they’re still susceptible to abnormalities.
For instance, sometimes your Roomba may decide not to charge, no matter how hard you try.
Such a situation can create a problematic atmosphere but don’t panic. This article will provide the possible reasons for this malfunction and solutions.
Your Roomba not charging is most likely linked to an impaired charger plug or an outdated battery. In addition, obstructions such as debris in the charging port or any other parts used in power transfer can likewise result in charging issues.
Why Is My Roomba Not Charging?

There are numerous reasons why your Roomba will not charge.
Some of them include clogged charging ports, or connectors, an impaired Roomba battery, a malfunctioning charging station, an attached battery pull tab, and a crummy caster wheel.
#1. Clogged Charging Ports and Connectors
Over a long usage period, obstructions such as dirt or dust can build up in layers and hinder the effective flow of power.
That’s why I always recommend a regular inspection. It would help if you searched for debris build-up in the ports or connectors and every other part. See if there’s a need for cleaning.
#2. An Impaired Roomba Battery
Batteries play a crucial role in storing power and ensuring effective usage. Thus when they’re faulty, many things usually go wrong.
In the same way, once your Roomba battery is faulty, the cleaner won’t operate as it should; you’ll experience charging difficulties.
Several factors can be responsible for the sudden damage to your Roomba battery. While some are natural or rather normal, others result from misuse.
One of the natural factors is that Roomba batteries misbehave after usage over a prolonged period.
The other factors resulting from misuse include exposing the appliance to excessive ultraviolet rays and improper maintenance of the brushes.
As a guide, avoid exposing your Roomba to excessive UV rays, as it reduces the battery quality. Also, frequently examine the brushes to remove dirt.
#3. A Malfunctioning Charging Station
Another reason your Roomba would not charge is a malfunctioning charging station.
Charging stations assist Roombas in self-charge. So if your Roomba charging station is faulty, charging will not take place.
Sometimes, the charging station may not be faulty. Instead, the problem could be the ports or connectors.
As stated, hindrances like dirt in ports or connectors can obstruct the power flow. Consequently, in such cases, even though there’s power, it won’t reach the device.
#4. An Attached Battery Pull Tab
You may not know, but your Roomba consists of a battery pull tab. This pull tab aims to bridge the battery connection and prevent activation.
Your Roomba will never be activated when the pull tab is in place. Consequently, it’ll likewise not charge up, even if connected to the mains.
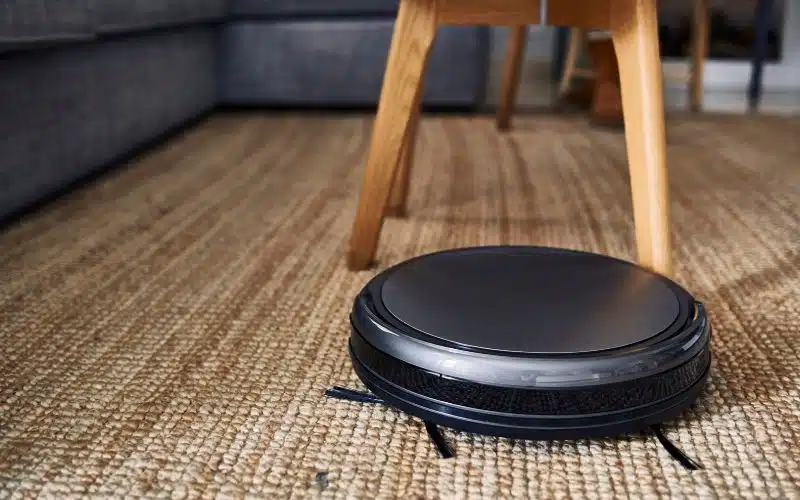
#5. A Crummy Caster Wheel
You may wonder about the connection between your Roomba charging ability and the caster wheel. The caster wheels indeed help the device navigate freely.
But they’re also susceptible to dust and dirt since you can only find them at the bottom. If you allow dirt to build up around the wheels, they’ll become stuck and go out of place.
Likewise, as a result, the device will be more elevated than usual. There’ll be no insufficient connection between the charging stations and Roomba’s connectors.
Altogether, conceding that you experience any not charging scenario, look through all the possible reasons as highlighted above.
Meanwhile, below are the solutions to some issues.
| Factor | Solution |
|---|---|
| Clogged charging ports and connectors | Clean them and ensure they’re debris free |
| An impaired Roomba battery | Possible replacement |
| A crummy caster wheel | Clean the caster wheel area and reposition it back to normal |
Four Ways to Fix Roomba in 45 Seconds

Fixing the problem of your Roomba not charging is a process that requires proper diagnosis.
Some troubleshooting procedures include;
- Ensure that there’s a sufficient power supply in the outlet
- Inspect the ports and connectors; eliminate any obstruction that you find
- Perform a reset
- Replace the Roomba battery
#1. Ensure There’s a Power Supply in the Outlet
After discovering that your Roomba isn’t charging, your first action should be ensuring the power supply is sufficient.
In other words, the switch should be tripped on. After all, sometimes, it may merely be an oversight from you.
For more efficacy in ensuring power supply, you can change the present outlet to see if it’s the culprit. Additionally, the charging connections should be tight and firm.
#2. Inspect the Ports and Connectors; Eliminate Any Obstruction
Another thing you should do if your Roomba isn’t charging is clean the charging contacts. You can do this with a dry cloth to remove any dirt or debris that may be blocking power flow.
As a precautionary measure while cleaning, detach the device from any power source to avoid electrical accidents.
#3. Replace the Roomba Battery
Conceding that you’ve ensured an efficient power supply and cleaned the ports and the device won’t still charge, try replacing the battery.
The reason behind the replacement is there might be a possibility of a dead battery. Roomba batteries are usually susceptible to damage; thus, you must be careful when handling them.
If you want to avoid battery issues and want your Roomba battery to last long, always preserve them in a cool area.
#4. Performing a Reset
Resetting is a good troubleshooting step; this should be one of your last resorts after trying every other troubleshooting process.
It could be that everything is fine and the Roomba is charging but not indicating. The resetting will eliminate hindrances such as software bugs.
Depending on the model, you can perform the reset by pushing the clean knob until you notice a beep sound.
Note that some models have a dedicated reset button; thus, in such cases, utilize the reset button instead.
Another excellent way to fix software issues is to update firmware frequently.
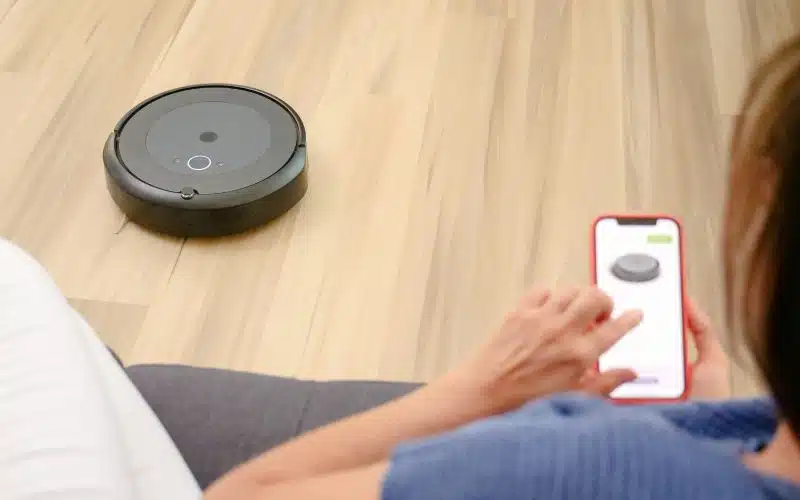
How Do I Manually Charge My Roomba?
The Roomba is a robotic vacuum cleaner that automatically vacuums and charges itself. But you’ll need to recharge it manually if it runs out of power and will not power itself.
To be safe, be sure to deactivate the device before charging. Subsequently, the first thing you need to do is locate the charging port.
Next, find the power adapter and plug it into the power outlet. Plug one end of the power cord adapter into the mains.
Afterward, plug the other end into the Roomba’s charging port, usually at the back. While charging, the power indicator around the ‘clean’ knob should start blinking.
Note that it’s not advisable not to use your Roomba while it is charging. Instead, you should plug in the power cord and wait until the battery is fully charged.
Not being patient enough for the Roomba to charge fully isn’t reason enough to use it while charging.
Unplug the device if you want to utilize it; charge it back when you’re done. This time, allow it to charge for a few hours before using it again.
How Do I Know If My Roomba Battery is Bad?
Roomba batteries usually contain lithium ions and have a life shelf range of about six months to two years. So if your Roomba is over two years old, it isn’t good and needs replacement.
There are numerous signs that your Roomba battery isn’t in sound condition. Some of them include inefficient performance, battery capacity, and dim headlights.
#1. Inefficient Performance
This situation can occur when the robot’s battery is weak and can’t get enough power to move smoothly. Consequently, the device will stop functioning after a few minutes of running.
If you have the app installed and connected to your phone, you’ll notice an alert on your smartphone or tablet that tells you that your Roomba needs new batteries.
#2. Inefficient Battery Capacity
A bad battery will make it difficult for the Roomba to maintain its charge. And by implication, it’ll need to be recharged more often than usual and may not be able to complete a cleaning cycle.
Normally, Roombas run for about 90 minutes or more, depending on your room size and other factors. But a bad battery will run for merely 20 minutes and go off.
#3. Dim Headlights
Another sign that your Roomba’s battery is bad is if you notice that the robot’s headlights are dimmer than usual. The headlights are what let you know the battery’s power status.
Thus if they’re always dimmer than usual, there’s a high chance that the battery is weak.
How Do You Revive a Dead Roomba Battery?
It is a common occurrence for Roomba batteries to die. Likewise, it can be hard to know what to do if you are not getting enough power on your Roomba.
Luckily, a few tricks can help revive your battery and get your vacuum running again. Plug in the charger and wait for some time before trying to use it again.
If this does not work, try cleaning out the terminals on both ends of the battery with a dry cloth or paper towel.
Conceding that the battery is still down, you’ll need to perform a reset. Note that the reset alternatives vary depending on the model.
For the E series and 500 series models, push the ‘clean’ and ‘spot’ knobs for about ten seconds, after which you’d hear an instrument or whisper sound.
By doing this, the battery should be back to normal. If you have an S or I series model, push the ‘clean’ knob for about 10 seconds.
How Many Years Does a Roomba Battery Last?
The battery life of robot cleaners like Roombas is a major factor affecting people’s buying decisions.
Your Roomba battery can last about two years or more, depending on its maintenance and correct usage.
While some Roomba users have enjoyed their batteries for 4 years, others have lamented, saying that the battery lasts less than a year.
To your knowledge, the battery life shelf also depends on its type. There are two types of batteries for Roomba cleaners– Nickel Metal Hydride and Lithium Ion.
NiMH cells are cheaper but have less capacity than Li-Ion batteries. Conversely, Li-Ion batteries are more expensive but last longer than NiMH cells.
To improve your Roomba battery life, don’t allow the battery to stay for long without charging. The battery may stop working when you don’t use your Roomba for a while.
Below are some tips on how to extend your Roomba’s shelf life.
- Clean your Roomba’s brushes regularly
- It would be best if you charged your Roomba after every usage
- Its storage area should be cool and free from UV exposure
- Kindly switch off the device when it’s not in use
- Keep the device away from water sources like sinks, showers, and bathtubs.
Summary
Your Roomba not charging doesn’t give you the warranty to throw it away. There are a few things that you must check.
By all means, ensure there’s enough power and no hindrances around the charging ports and connectors. Connections should be firm!