Having trouble with your Maytag Bravos XL Dryer? Our Maytag Bravos XL Dryer Troubleshooting guide gives fast fixes. It solves common issues like drying issues and error codes. This helps you make your dryer work well again.
Quick Troubleshooting Tips
- Check power supply and circuit breakers for power issues.
- Check the heating element and thermal fuse if the dryer is not heating.
- Regularly clean vents for efficient drying.
- Inspect the door latch and blower wheel for noise issues.
In this article, we will explore troubleshooting tips and solutions for common problems that Maytag Bravos XL dryer owners may encounter. We’ll look at how to fix common issues for these owners.
How to Check for Power Issues in Your Maytag Bravos XL Dryer

If your Maytag Bravos XL dryer won’t power on, check the following:
- Plug it into a working outlet.
- Check the circuit breaker or fuse box.
- Inspect the power cord for damage or loose connections.
- If using an extension cord or power strip, plug directly into the outlet.
Below are further explanations.
#1. Check the Power Supply
First, plug your dryer into a working outlet to make sure it works. Then, check your electrical panel for blown fuses or tripped breakers. If these steps don’t solve the issue, you may need extra help.
#2. Inspect the Electric Socket
First, unplug the dryer to look for problems. Then, check the socket for harm or clogs. Remove any debris with tweezers or pliers. If the dryer still doesn’t work, check the circuit with a multimeter for any breaks.
#3. Check the Circuit Breaker
Find the box that holds the circuit breakers. Then, find the breaker marked for your dryer. Turn the dryer’s breaker off and then back on to reset it. Wait a few minutes and test the dryer. If the issue persists, consider consulting an electrician.
#4. Inspect the Power Cord
If the circuit breaker is working well, the next step is to look at your dryer’s power cord. Ensure the power cord fits well in the socket and has no visible damage like frayed or exposed wires.
Also, check for any damage to the dryer plug. If you find damage, you should swap out the power cord. To replace the cord, first unplug the dryer.
Then, put in the new cord and plug it into the socket. Once the cord is snug, try using the dryer again.
Troubleshooting Tips for Non-Heating Maytag Bravos XL Dryers
Non-heating-maytag-bravos-xl-dryer-troubleshootingIf your Maytag Bravos XL dryer is not heating, you should check the heating element first.
Over time, the heating element can become coated with lint and dust, preventing it from working properly.
The table below shows common causes of non-heating in Maytag Bravos XL dryers.
| Possible Cause | Solution |
|---|---|
| Thermal fuse blown | Replace the thermal fuse |
| Faulty heating element | Check and replace the heating element |
| Defective thermostat(s) | Test and replace the faulty thermostat(s) |
First, take off the dryer’s back panel to clean the element. Then, use a soft brush to vacuum the element. After that, put the dryer back together and test it.
If the element is clean but still not working, inspect the dryer’s thermal fuse, which prevents overheating. The thermal fuse is behind the drum, on the blower housing.
To inspect the thermal fuse, remove the dryer’s back panel and check if it’s damaged or blown. If the thermal fuse is blown, replace it.
Here are the parts that affect your machine’s heat control:
- Thermal Fuse: Once the fuse detects excessive heat, it will blow out and prevent power from reaching the heating element. Replace the fuse if you find it defective.
- Heating Element: This essential part generates heat inside your washer. Consider replacing it if it is faulty.
- Cycling Thermostat: This part controls the drum’s heat by turning it on and off correctly. Replace it if it is failing.
- Igniter: It ignites gas in the burner assembly. If it’s broken, it won’t be able to heat your dryer.
- High-Limit Thermostat: This part cuts power if the inside heat gets too high. Replace it if it is faulty.
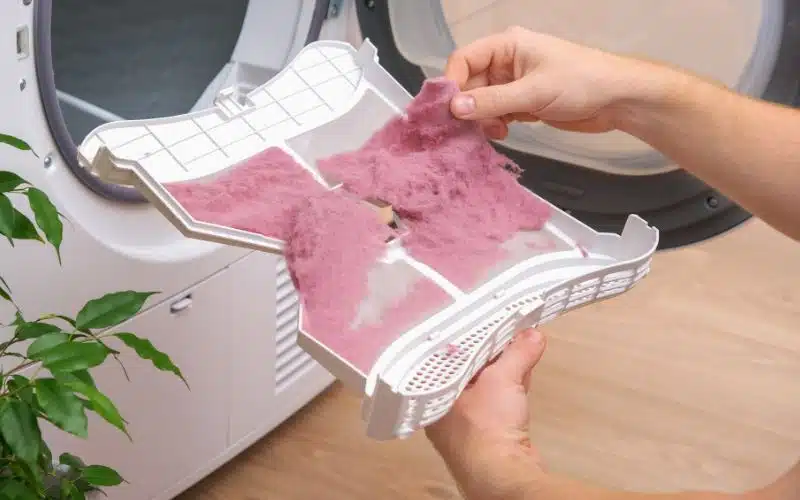
How To Clean Your Maytag Dryer Vents to Ensure Efficient Drying?
If your Maytag dryer is not working as it should, blocked vents are likely the cause. This guide will help you clean them for better performance.
Here’s a step-by-step guide to help you clean the vents and ensure optimal performance.
Safety First
Before you start, unplug the dryer. If it has a gas line, disconnect it for safety.
Tools You’ll Need
- Screwdriver (usually a Phillips head)
- Vacuum cleaner with a brush attachment
- A soft cloth
- Optional: A long, flexible brush for deep cleaning
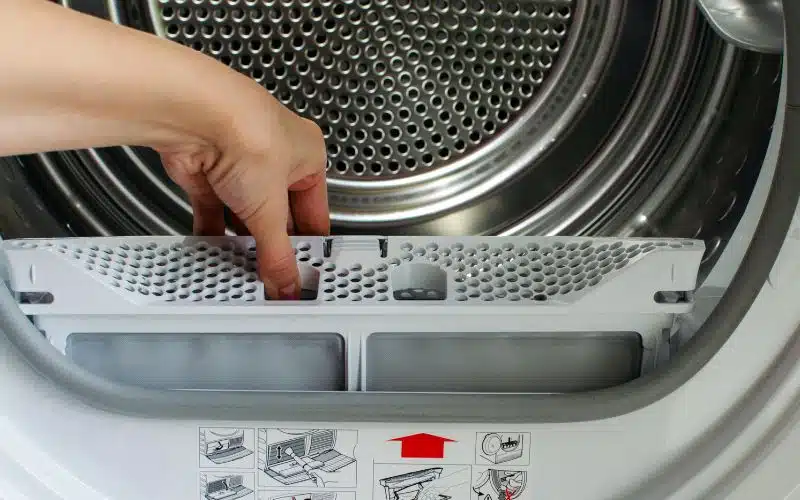
Step 1: Locate the Vent
Locate the vent at the back of your dryer, usually covered by a metal or plastic cover.
Step 2: Remove the Vent Cover
Remove the vent cover screws with a screwdriver and keep them for reattachment.
Step 3: Vacuum the Lint
Vacuum the vent to remove the lint. For deeper cleaning, use a long brush to scrub the inner walls.
Step 4: Wipe Clean
Wipe the vent cover and area clean, removing any remaining lint.
Step 5: Reattach the Vent Cover
Use the screws you kept to reattach and secure the vent cover.
Step 6: Test the Dryer
Plug the dryer back in. If it has a gas line, reconnect it. Then, run a test cycle.
Frequency of Cleaning
Clean the vent every 6-12 months or sooner if you notice issues like longer drying times or overheating.
Troubleshooting
For issues like stuck screws or inaccessible vents, consult your Maytag user manual.
How To Solve Door Latch and Noise Problems in Maytag Bravos XL Dryer?
Dealing with your Maytag Bravos XL dryer can be tough when it has issues like a faulty door latch or strange noises. Here’s a comprehensive guide to help you identify and fix these problems.
Door Latch Problems
Symptoms
- The door won’t close properly.
- The dryer starts and stops intermittently.
Tools Needed
- Screwdriver
- Replacement latch (Part number: XYZ123)
Steps to Fix
- Unplug the Dryer: Always start by unplugging the dryer from the electrical outlet.
- Remove the Top Panel: Use a screwdriver to remove the screws securing the top panel, and then lift it off.
- Inspect the Door Latch: Check the latch for any signs of damage or wear.
- Replace if Necessary: Replace the damaged latch with a new one.
Safety Precautions
- Unplug the dryer before starting any repairs.
- Wear gloves to protect your hands.
Verification
After replacing the latch, plug the dryer back in and test the door several times to make sure it latches properly.
Noise Problems
Types of Noises
- Squealing: This indicates that the bearings on the guide wheels may be going bad.
- Thumping: This could mean a worn-out blower wheel.
Tools Needed
- Screwdriver
- Wrench set
- Replacement bearings or blower wheel
Steps to Fix
- Identify the Noise: Listen carefully to the noise your dryer is making.
- Unplug the Dryer: Safety first—always unplug the dryer before starting.
- Open the Dryer: Remove the top and front panels to access the interior.
- Inspect and Replace: Depending on the noise, either replace the guide wheel bearings or the blower wheel.
Safety Precautions
- Always unplug the dryer before starting any repairs.
- Use appropriate safety gear, like gloves and eye protection.
Verification
Test the dryer by running it for a few minutes to make sure the noise is gone.
Alternative Solutions
If you still have issues after following these steps, you might need to call a pro. There might be issues that require specialized tools and expertise to fix.