Your Samsung Ice maker might get stuck in your refrigerator when you least expect it. The less often you use your ice maker, the more likely it is to get stuck.
Trying to force the ice maker out might not do the trick when it does happen. You might end up causing damage to the ice maker or refrigerator.
Ice will repeatedly melt and freeze in an ice maker you do not use often. Over time, it will morph into stubborn clusters of ice that stick around the ice maker and leave it stuck. In addition, other factors like cracks and faults can get your ice maker stuck. Fixing it involves getting rid of the thick frost.
Why Won’t My Samsung Ice Maker Come Out?

Your Samsung ice maker will not come out because there could be a crack in the ice maker or a fault in the water line and other components.
As a result, water will leak through, harden into ice and get your ice maker deeply stuck. Identifying the root of the problem and fixing it is the next line of action to avoid a repeat.
#1. Cracks in the Ice Bucket
If cracks are on the ice bucket, water will likely seep through and get ice into unwanted places. In addition, the seal around the ice bucket could be weak or even damaged.
Once the seal is loose, fit it back into place. The seal might break and be unable to work again, so you replace it.
To check the ice maker compartment for cracks, place a bright light inside and check from the outside. The lights should shine through and make the cracks visible if there are any.
If there are cracks, seal them with an Epoxy sealant. Unsealed cracks and openings around these parts can let water and air in.
The moisture in the air freezes up inside the ice maker and can cause it to get stuck.
#2. Blocked Ice Chute Door
One easy way of telling that the chute is blocked is when the ice dispenser cannot let ice out. When the chute is blocked, the flap that seals it cannot close properly.
A gap in the flap indicates that ice has been moving through it and into the ice maker. Over time, it builds up and eventually affects the ice maker.
An easy fix is to use a steamer to melt the ice in the chute. The flap can now close properly, and there is no longer a blockage in the chute.
Using a steamer is a better option than a blow dryer because it is less likely to destroy the plastic of the ice maker.
How Do I Get a Stuck Samsung Ice Maker Out?
In mild cases, a careful shake of the ice maker should loosen it up enough for you to pull out.
Sometimes, the trick to easily getting it out after shaking it loose is to pull it at a special angle. Sometimes, this is not enough to get the ice maker unstuck.
You might have to follow an alternative series of steps to fix the issue.
#1. Step 1- Identify the Cause
There are many reasons why your Samsung ice maker is stuck, but it is important to pinpoint why it is in your case.
For example, your ice maker may get stuck because of a bad case of accumulated frost or ice getting into the wrong place.
Another possibility could be a serious fault that would require the attention of a professional.
Sometimes, both possibilities could be at play. To be sure, put the ice maker on Forced Defrost mode to clear off any ice that would keep you from investigating further.
The table below guides you on how to activate the Forced Defrost mode by turning it on and off:
In some Samsung models, there might be another button to switch to Forced Defrost mode instead of the Fridge button.
To determine which button it is, cycle through the buttons on the panel.
One cycle might not be enough to melt all the accumulated frost, so you might have to repeat the process a couple more times.
#2. Step 2- Unplug the Refrigerator
Turn off your Samsung refrigerator to be on the safe side. In addition, having the power off will lead to the best results in this process.
Pull out the plug from the mains, and flick the circuit breaker to OFF if you can not reach it.
#3. Step 3- Pull Out the Ice Maker
How you get the newly defrosted ice maker out might differ from Samsung ice maker models.
You must pull the ice maker out without angle tricks in some models. While in other models, place your hand under the ice bin, lift and pull out towards yourself.
Some might even require you to use a pin to press the clip at the top to push the ice maker downwards. It loosens the ice maker from its compartment so you can pull it forward.
If there is still ice on the tray and in the ice maker compartment, leave the freezer door open to let it thaw.
Do not use any form of direct heat to melt the leftover ice. It could deform the plastic around those parts.
#4. Step 4- Remove the Wiring
You might want to see if there is a fault under all the ice, so with screws, dislodge the parts that hold the wiring. You can find these parts on the left side of the ice compartment.
After unscrewing them, take the parts out. Now that the wiring is within reach disconnect the harness that holds all the wires together. Pull it out gently.
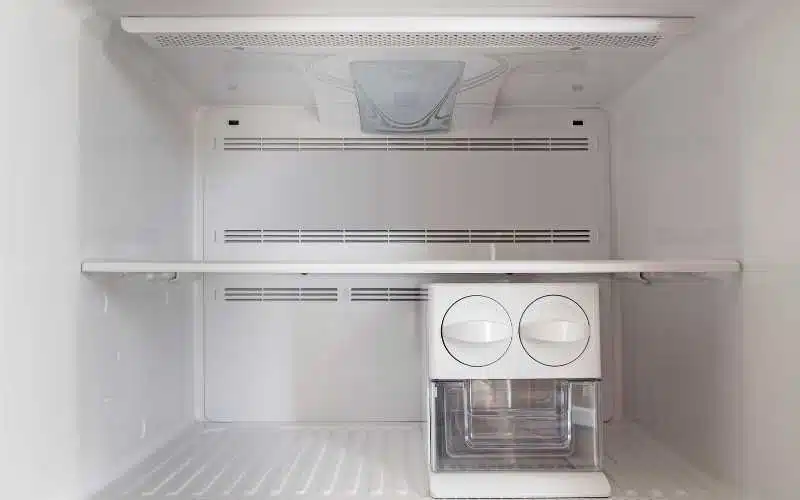
#5. Step 5- Expose the Coil
The cooling coil will be under the ice tray. Use a flat screwdriver to take out the screws of the ice tray compartment.
Then, with the same screwdriver, push the ice tray open and move it to the right side. Afterward, gently take it out of your way to expose the coil.
With a screwdriver, move the coils around to check for abnormalities. The ice maker is damaged and needs replacement if you see signs of frost.
If you do not find anything, be careful not to poke around too hard to avoid causing irreparable damage. When in doubt, call a professional to investigate instead.
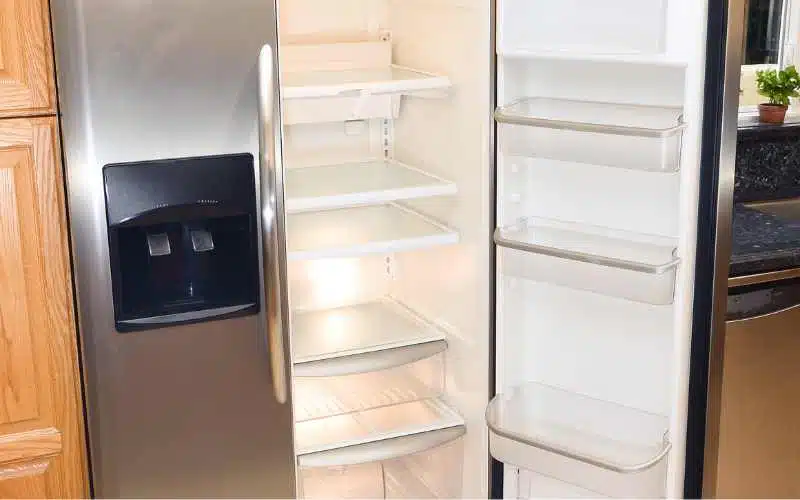
How Do You Open the Ice Maker on a Samsung French Door Refrigerator?
Open the left door and find the ice maker on the inside. Grasp the handle and pull down to unlock the ice maker compartment door.
You should find another handle at the top of the bin. Pull it down and lift the ice bucket. Then take it out of the refrigerator.
Now to remove the ice maker tray, move it to the right and carefully use a screwdriver to pull it down.
Under the ice tray is the cooling unit. Also, move it alongside the coils to get to the ice maker.
The ice maker, the ice compartment, and all its components are very fragile materials. So as you open the ice compartment, be careful how hard you move your tools around.
Once a part is damaged or broken, there is a high chance that it might not be repairable. Also, it would result in getting an entirely new ice maker.
Where Is the Reset Button on Samsung Ice Maker?
You can find the Samsung ice maker reset button at the top right of the Samsung ice maker. In some models, you can find it near the bottom of the ice maker or on its side.
The reset button is rectangular, and TEST is on it. If not, then there should be an arrow pointing towards it. You can also find it below the ice tray motor housing once you move the front cover aside.
Using the reset button should be the final line of action. If there seems to be nothing wrong with your ice maker, it has not returned to its normal function.
Locate the reset button, and press and hold the button. After a few seconds, you should hear a beep.
Now that you have reset the ice maker, wait 24 hours for results. You should not run another test on the ice maker within those 24 hours because it could be counterproductive.
Instead, wait till that time has elapsed. If your ice maker is still not functioning properly, you probably damaged something when you unstuck it. Call a professional to take a look.
Is There a Recall on Samsung Refrigerator Ice Makers?
There has not been a recall of Samsung refrigerator ice makers. The ice maker has warranted several customer complaints, yet Samsung has not made a formal recall.
Samsung refrigerator ice makers are notorious for developing a couple of issues down the line.
One of those issues could prevent you from using auto frost to get your ice maker unstuck. As an alternative, you could manually defrost the ice maker.
Although it takes longer, it is just as effective. To do this, remove the contents of your freezer and store them away. Ensure they are not in direct heat and don’t go warm fast.
The manual defrosting process takes a couple of hours, and the food might start to go bad if they stay warm and exposed for that long.
Disconnect the refrigerator and open up all the compartments. Lay thick towels around the refrigerator to soak up all the water draining from the thawing frost.
You do not have to wait for all of the ice to thaw. Periodically check to see if the ice around the ice maker has melted enough to let you pull it out.
Conclusion
If all that keeps your ice maker stuck is ice, you can put it back in after defrosting and continue your day. However, in the worst-case scenario, the ice maker could have dropped into the ice bucket.
To remove it, you will have to use force. And with force comes damage. You might have to replace the ice maker.