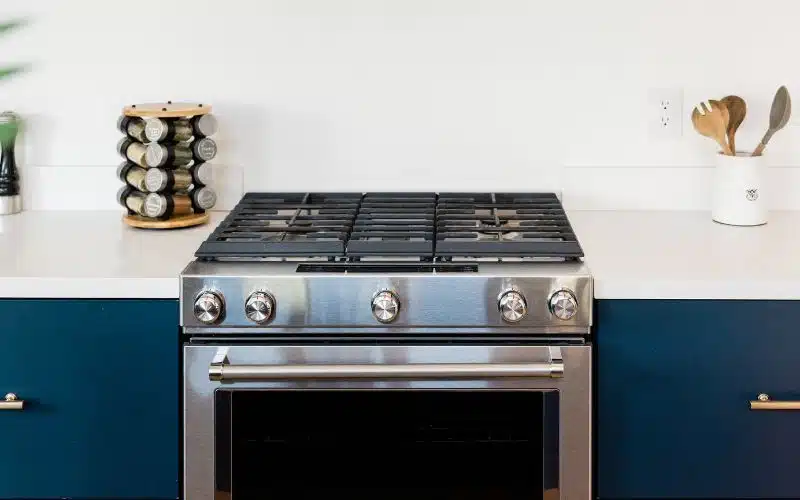
Kitchen ovens are commonly preferable for their large and easy cooking capacity. Many families use them these days, especially since they cook large meals all at once.
They don’t need to be coordinated with the countertop, but they need their space and outlet. However, you may find that your range is not flush with the wall and looks out of place.
The Range outlet pushes the oven away from the wall if it is too high. Therefore, the socket should be mounted 18 inches above the countertop so that the oven can be flush with the wall. However, the gas line connected to the oven can cause this if it warrants moving the oven during installation.
Why Is My Electrical Outlet Pushing the Oven Away from the Wall?

The kitchen socket pushes the oven away from the wall because it is too high. The outlet’s location determines how well the oven flushes against the wall.
Before installing an outlet, you should take note of the recommendations of the manufacturer of the range.
The receptacle is usually located several inches from the floor and wall behind the range. Therefore, it is usually installed away from the center of the range space.
Some sockets are floor mounted for some ranges, while some are wall-mounted.
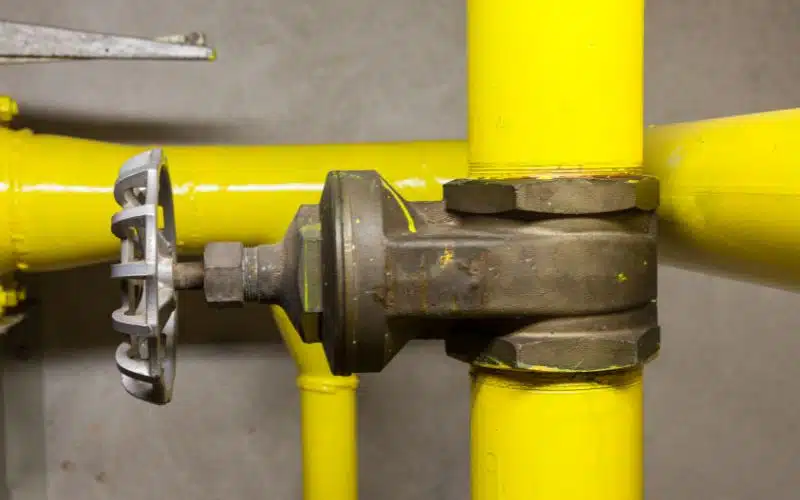
In addition, another reason besides the range socket that makes your range push far from the wall is your gas line.
The first thing to check is the gas line connected to the oven when your oven is not flush with the wall.
It is possible that when installing the gas line on your kitchen oven, they moved the stove slightly and forgot to return it to its initial position.
The space between the oven and the wall should be at least two inches wide. Therefore, if, after checking, you find that the gap is too large, you should adjust the placement yourself.
If your oven model has a gas connector in the range, you must create a two-inch space for the gas line. The gas line can enter through the floor or the wall, connecting it to the back of the oven.
The gas line of a slide-in range protrudes a little when connected. Make sure you leave space between the range and the wall for the gas line connector.
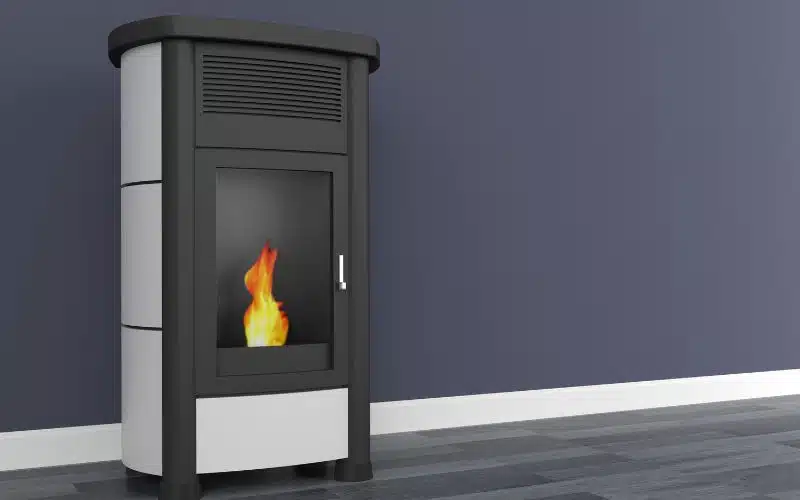
However, if your range model is freestanding, there should be no space between the range and the wall. And this is because a free-standing range flushes naturally to the wall during installation.
Also, there should be a foot space between the range and the side wall if your range is in the corner.
Lastly, you should also make sure to check if the range is supposed to be flush with the back wall. Some models in the ranges are not intended to touch the wall.
Is It Safe to Change the Position of the Range Outlet?
It is safe to change the position of the range outlet, but you should observe some precautions and guidelines.
As explained earlier, the location of the range exit can be the main reason the range protrudes from the wall.
Therefore, you may want to consider changing the position of the outlet to align it with your oven. Here are the main guidelines to follow while carrying out the process.
#1. Power
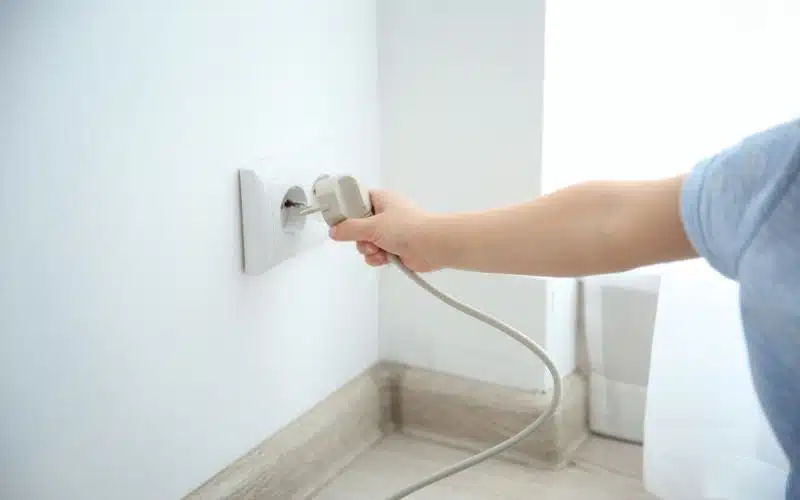
It is essential to cut off the power supply before working on the socket is essential. You don’t want to risk an electric shock. You need to turn off the circuit to cut off the power.
Use an electrical tester to ensure no power at the outlet. If you don’t know which circuit your range is on, you should turn off the main switch that powers the building instead.
#2. Wall
Measure the dimensions of your existing socket and cut out the exact dimensions in the new intended location.
Then, use a pin finder to find a pin to mount your socket box on, mark the spot, and cut to the required size.
#3. Wires
Uninstall the plug and note how the cables are connected when you pull the plug. The ground, negative and positive wires must not be confused. Next, disconnect the wires from the switch and pull the wires to the new location.
#4. Socket
Fit the electrical box in the new position and secure it to the pin. Assemble the socket, plug it in and install it inside the electrical box
#5. Patch
Patch the old location with a drywall patch kit or joint compound. The drywall patch kit can cover small holes such as the outlet space.
Then, sand the patch and paint it to blend in with the other sections of the wall.
#6. Back Wall
Create a two-inch gap for the gas line connector if the range is a drop-in or slide-in model. The connector on the rear of the range receives sufficient ventilation due to the space created.
If the model in your range is free-standing or electric, you should push them against the wall.
There is no need to leave a space between the appliance and the wall because they have better ventilation, and the gas connector does not protrude.
In addition, these ranges have power cords installed on the back, and you can plug them into wall outlets.
#7. Sidewall
The minimum distance between any model in the range and your sidewall should be at least 12 inches.
Flames from the gas stove, heat from the oven, and the intense heat from electric coils can be dangerous if the stove is close to the wall, so it is recommended that you leave a space of at least 12 inches.
The space between the range and the wall also reduces grease stains and oil splashes on the wall.
Does My Range Wirings Require Codes?
The National Electrical Code (NEC) allows you to power the stove and oven with the same circuit in a kitchen where they are separate units.
The condition for this is that the combined electrical load must not exceed the safe capacity of the circuit.
According to the National Electric Code, sockets can be above the recommended 4-inch measurement for countertop backsplash and 18-inch high above the countertop surface.
Also, the 2, 30, or 40 A circuits must be run separately from the main panel for power.
Second, it is customary for the backsplash sockets to be 8 to 12 inches above the table and should come out 44 to 48 inches AFF above the ground.
The distance between the bottom of the cabinets and the floor is 54 inches. Note the height of the backsplash when making these measurements.
The height of most floor line outlets is approximately 12 inches from the base of the box. Also, it is best to treat unfinished basement outlets like exterior outlets due to moisture.
There are no recommended heights for these sockets, so you should mount them as high as possible to keep them away from moisture.
The NEC recommends a maximum height of six and a half feet above the ground for outdoor outlets. You should also follow this principle in an unfinished basement.
A 240/250 volt, 50 Amp circuit should be dedicated to an electric oven. The cable needed to power the range would be 6/3 NM, while a gas oven would require a 120/125-volt outlet.
The outlet would be able to power the vent hood and range controls. It is common for kitchens to use 50 amp circuits. They can serve any type of domestic stove.
Some large ranges may require a 60A circuit, while some small ranges may require 40 or 30A circuits, but the 50A can serve any size of the range cooker.
Can I Use a Junction Box for My Kitchen Oven?
You can use a junction box for range wiring. The ranges consist of countertop cookers and built-in ovens, and the energy required to serve the appliance is high.
The installation of a junction box for a stove also depends on the situation on the ground.
The national electrical code dictates a junction box if the wire spins and bends 360 degrees. However, a conduit can be used as an alternative to a junction box.
In addition, the cables in the ranges are heavy and difficult to pass through the conduit, so installing a junction box would make pulling the cables simple and easy.
Also, if you were to splice the cables from the electrical range, you would have to install a junction box and run the cables through it. You must keep all spliced cables connected and enclosed within the junction box.
Conclusion
Your kitchen oven may push itself away from the wall due to the socket, but you can simply adjust it by changing the socket’s position or using a junction box.
Be sure always to contact a professional electrician to perform the procedure.