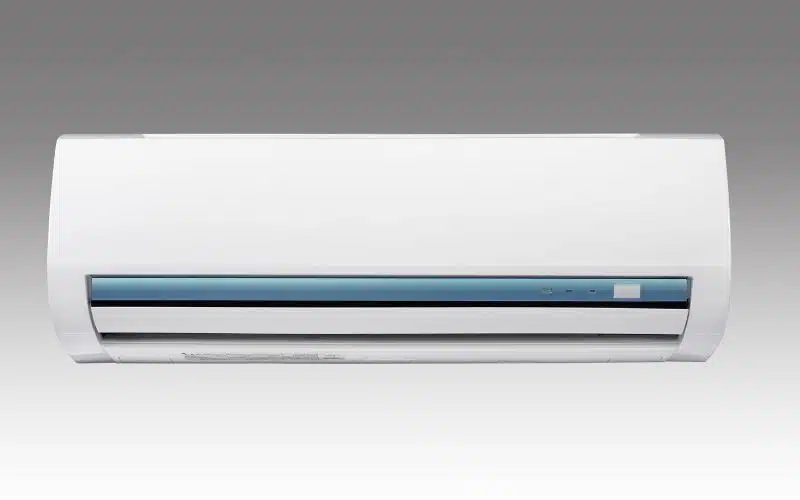
The display on your split AC unit shows important information like temperature and speed. If it starts to malfunction, you won’t be able to monitor your AC properly.
There are several reasons why the display may stop working, so it’s important to know the common causes to find solutions.
Some of the many reasons could include a malfunctioning control board or temperature sensor. A fluctuating power supply could be the culprit, as the unit requires a consistent power source to operate the display.
In this article, I’ll explain why your split AC display may not function properly and offer various solutions to restore it.
3 Common Reasons Why the Split AC Display Won’t Work?

Your Split AC display may not work at times. You must know the reason for this issue to figure out how to fix it.
Here are a few reasons why your split AC display may not work:
#1. Faulty Control Board
The control board oversees various functions of the split AC, including the display. If the control board encounters any problem, your split AC’s display won’t work.
Electrical issues and frequent exposure to high temperatures may cause your control board to malfunction. Also, the control board may be old and worn out.
#2. Power Supply Problem
Your AC requires a steady power supply to function. If there is an issue with the power flowing to your AC unit, the display won’t work.
#3. Temperature Sensor Issues
Your split AC’s temperature sensor affects its display unit. If the temperature sensor encounters any issue, the display unit will not function as it should.
How to Restore the Display on Split AC?
Here are a few ways to restore the display on your split AC:
#1. Reset the Display Unit’s System
One way to restore the display on your split AC is to reset the system. This process usually brings the AC back to its default settings.
Here are the steps to reset the display unit system on your AC:
- Step 1: The first thing to do is to cut the AC off from its power supply. You can remove the AC plug from the electrical outlet.
- Step 2: Give the AC a few minutes to reset. Any recent data on the AC’s system settings will clear out.
- Step 3: Connect the AC back to the electrical outlet and allow power to flow through it.
- Step 4: Please turn on the AC by pressing the power button on the remote control or the AC itself. The display on the AC should come up after the reset.
#2. Fix or Replace Your Control Board
Your control board manages the function of your display unit. If there’s an issue with your AC display, your control board is most likely the culprit.
You won’t be able to fix your control board if you don’t know the issue it’s facing.
Your control board will display an error code; you can check the AC’s user manual to determine the error code’s meaning.
Here is a table to show the possible error codes your control board may display and their corresponding meanings.
| Error Code | Meaning |
|---|---|
| E1 | Temperature sensor issue |
| E2 | Indoor coil sensor issue |
| E3 | Outdoor coil sensor issue |
| E4 | Refrigerant pressure or flow issue |
| E5 | Outdoor temperature sensor issue |
| E6 | Communication issues between indoor and outdoor units |
| E7 | Outdoor fan motor issue |
| E8 | Indoor fan motor issue |
| E9 | High-pressure switch issue |
| F1 | Indoor unit printed circuit board (PCB) issue |
You can also inspect the wiring of your control board and ensure that everything is where it’s supposed to be.
If the control board still doesn’t work after fixing and inspecting the wiring, you may need to replace it.
Here are steps to replace the control board in your Split AC:
- Disconnect the AC from its power supply to prevent power from flowing through it.
- Find your AC’s indoor unit and remove the control board’s cover.
- Remove all wires connected to the control board.
- Remove the control board and ensure you don’t damage other components.
- Mount the new control board and put all the wires in the right place.
- Put back the cover of the control board and then connect the power supply back.
- Turn on the AC and test your new control board unit.
To ensure that the control board does not develop issues in the future, take the following precautions:
- Clean the control board from time to time. Clogged dirt may cause the control board to malfunction, so you should clean it out frequently.
- Use surge protectors on your control board. Electrical issues like power surges can cause damage to your control board.
- Never expose your AC unit to high or extreme temperatures to avoid damage to the control board.
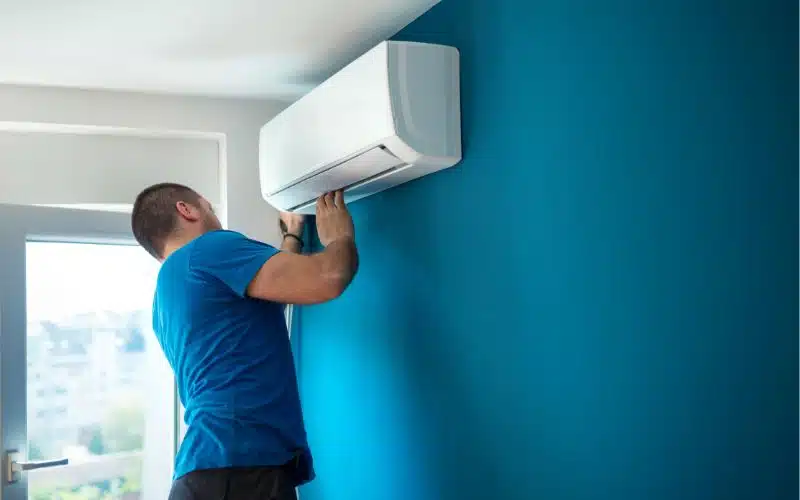
#3. Replace the Display Unit
The display unit on your split AC may not work because it’s long overdue for replacement.
Here are steps to replace your AC’s display unit:
- The first step is disconnecting your AC from the electrical outlet. It is dangerous to work on an AC when power is flowing through it.
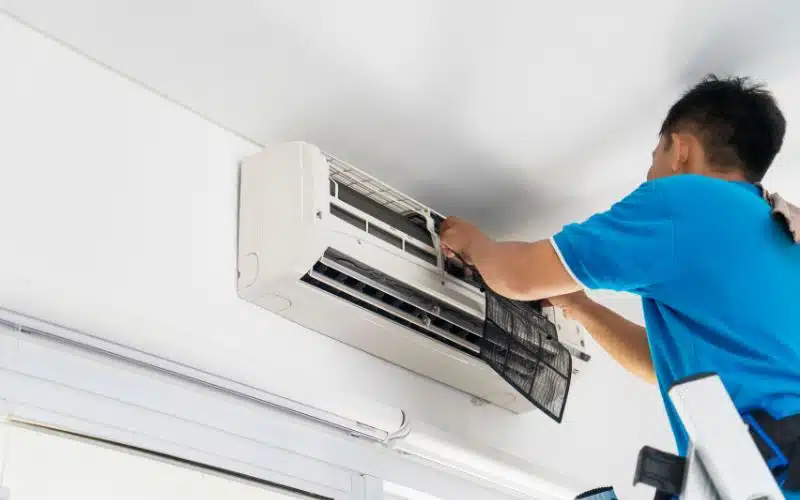
- Remove the cover of your AC unit to access the display unit. You’ll find the display unit in the indoor unit of our AC.
- Disconnect the wiring from the display unit and remove it from the mounting bracket. Ensure that you’re familiar with what wires go where before disconnecting them.
- Connect the wires to the new display unit on the mounting bracket and connect the wires.
- Ensure the wires are secure before taking the next step.
- Replace the cover with the AC unit and connect it to the power supply.
- Turn on the AC and test your new display unit.
If you’re sure you won’t be able to replace the display unit without causing any damage, let a technician do it for you.
#4. Check the Remote Control
If your split AC is the type that requires a remote control to function, then you need to check if the remote is faulty.
You might need to change the batteries or get a new one if the remote is faulty.
#5. Troubleshoot Your Temperature Sensor
One troubleshooting method for your temperature sensor is to check if it is at its right location. The temperature sensor must be close to the evaporator coil.
Another troubleshooting method is to use a soft cloth to clean out the temperature sensor. Clogged dirt and debris may cause issues to develop in the temperature sensor.
Ensure that the wirings are correctly in place and secure. Misplaced wiring may cause the temperature sensor to develop issues.
Split AC Lights Not Coming Off
It’s annoying when your split AC light fails to turn off, especially when you don’t know the source of the problem.
Nonetheless, here are a few reasons your split AC lights may not come off and how to fix them:
#1. Control Board Malfunction
The control board is an important component of your split AC and is responsible for most of its functions. One of those functions includes turning the AC’s light on and off.
If the light of your split AC refuses to come off, there might be a problem with your control board that you need to address.
You should call a technician to fix or replace the control board. You can turn off the lights once the control board is working properly.
#2. Faulty Timer
The timer is a part of your split AC that ensures the unit goes off at a specific time. If the timer malfunctions, the AC might stay on even when you turn it off.
You should try resetting the timer by disconnecting it from the power source and reconnecting it after a few minutes. Check the split AC’s user manual to find out some troubleshooting methods.
#3. Improper Wiring
The wiring of your AC unit must be properly secure to carry out all its functions, including turning the light off. If there is damage to the wiring, you may not be able to turn the unit off.
You should call a professional to fix the wiring if there is damage.
#4. Sensor Issues
The sensor helps to increase the display’s brightness by detecting the level of light in the room. If the sensor malfunctions, the split AC may stay on even after turning it off.
Once you detect the problem preventing your split AC light from turning on, you should contact a technician to help fix it.