Electronic appliances are complex and feature built-in programming to help you maintain them.
Hisense dehumidifiers are no different; they have their ways of letting you know something is wrong. Displaying error codes is one of these ways the dehumidifier takes care of itself.
Error codes aren’t cause for alarm; they usually need little touches to fix them. The article below will highlight some of these codes and reveal how to tackle them.
Error codes appear on a Hisense Dehumidifier when there’s an issue on the appliance. Each displayed error code points to a particular problem from the dehumidifier. The dehumidifier has programming to create error codes whenever an issue needs attention. Having a good knowledge of these codes is essential to solving them.
The article below will highlight some error codes displayed on the Hisense dehumidifier. Reading on, you’ll learn how to fix these error codes appearing on the dehumidifier.
What is the Error Code E2 On the Hisense Dehumidifier?

The Error code E2 displays on the Hisense Dehumidifier when the air sieve is dirty.
#1. Cause of Error Code E2 on Hisense Dehumidifier
The E2 error code comes up when the air sieve is filthy and heavy with debris. The sieve gets like this after two weeks of operation.
However, the sieve will get dirty quicker than that if the air is heavy with dust and other particles.

- [Ideal for Areas Up to 3,500 SQ. FT.] This FREE...
- [Innovative Features & Warranty] This dehumidifier...
- [Flexible Draining Options] Easily empty the...
- [Compact and Quiet Dehumidifier] This dehumidifier...
Last update on 2024-01-10 / Affiliate links / Images from Amazon Product Advertising API
#2. How to Fix Error Code E2 on Hisense Dehumidifier
Naturally, fixing this error code requires washing the air sieve.
The following steps will guide you on how to wash the air sieve.
- Disconnect the machine from its power source so you don’t receive an electric shock when reaching for the sieve.
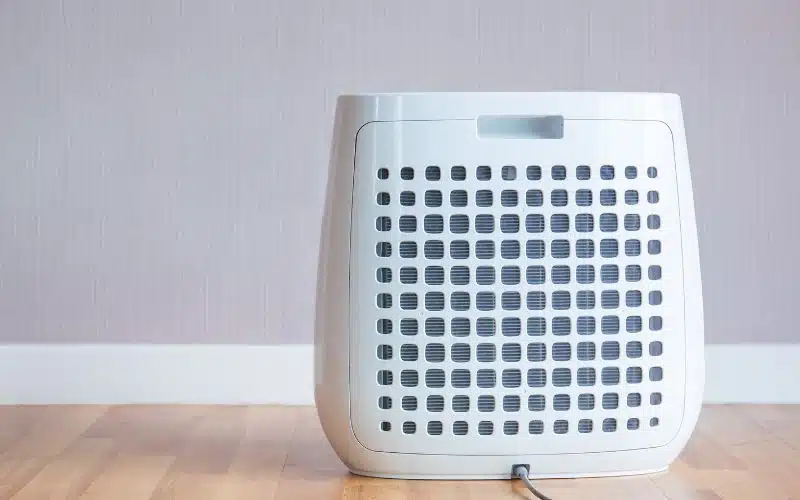
- Take out the air sieve. You can find it at the airway’s front behind the dehumidifier and pull it out.
- Use a vacuum cleaner to clean or wash with fresh water. If the air sieve isn’t too dirty, you can use a vacuum cleaner to suck up the dirt.
However, wash the sieve with fresh water and detergent if it is very dirty.
- Leave the air sieve to dry in the wind. Please do not put it back into the appliance immediately after washing with water.
- Replace the air sieve with the appliance and check if the code still displays.
What is the Error Code E3 on a Hisense Dehumidifier?
The error code E3 appears on a Hisense Dehumidifier to indicate a drain problem.
The following are some causes of the error code E3 in a Hisense Dehumidifier.
#1. Isolation of the Hose from the Appliance
If the hose isn’t well fixed to the dehumidifier unit, the error code can come up. Pets and children can unintentionally disengage the hose from the unit, causing the problem.
#2. Faulty Control Panel
The dehumidifier control panel can fail at any time. This failure prevents the machine from getting commands.
Such commands can include actuating the pump; however, the command doesn’t go through without the control panel.
#3. Blockage on the Hose
Bends and curves can block water flow, slowing the speed of the water’s exit. Also, particles can accumulate inside the drain and obstruct the water flow.
#4. Position of the Dehumidifier Unit
Not all dehumidifiers have fixed pumps; this type drains away naturally by gravity out of the hose. Therefore, the nearer the machine is to the ground, the less effective the drainage.
A low position makes it difficult for the water to drain out the appliance.
#5. Clogged Water Sieve
Hisense humidifiers that have pumps feature twin water sieves. Normally, these need cleaning after three months.
Failure to clean it will result in clogging. A clogged water sieve will not allow water through it during draining.
#6. How to Fix Error Code E3 on Hisense Dehumidifier
- You can check if the hose is loose from the unit and try to reconnect it.
- If you reconnect it and it doesn’t work, your unit might need repairs on the control panel. You’ll have to reach out to Hisense so they can fix it.
- Make sure you straighten your hose so water can freely leave it.
- Keep your dehumidifier on a raised surface so that it can properly drain.
- Unclog your water sieve regularly to prevent blockages.
Completing the above should allow the dehumidifier to drain water and remove the error code.

- Easy-to-Clean Washable Filter: Capture dust from...
- Custom Humidity Control: Maximize your comfort...
- Continuous Drain Option: Skip emptying the water...
- Automatic Shut Off: Unit shuts off automatically...
Last update on 2024-01-10 / Affiliate links / Images from Amazon Product Advertising API
What is the Error Code E9 on a Hisense Dehumidifier?
The Error code E9 appears when there’s a sensor error. The situation happens when the computer board doesn’t get a decent signal to calculate how cool or warm the environment is.
#1. Cause of Error Code E9 on Hisense Dehumidifier
The error code E9 displays when there’s a faulty connection or the sensor is defective. A broken sensor activates the error code E9.
The error code E9 means the sensor is faulty; however, you’ll need to confirm the state of this sensor. You can do this by completing a series of checks on the appliance.
The following checks will help determine the state of the dehumidifier’s sensor.
- Inspect the Wiring. You’ll need to check the wires in the dehumidifier unit and see if they’re in good condition.
- You’ll also have to pull the terminal blocks to inspect the pins. They are at fault if they bend on the pins, causing the error code to appear.
However, if you don’t see any issues with the pin, then there’s a good wire connection.
- Examine the wire resistance. You can check this using a multimeter. The multimeter tests the kilo ohms resistance of the wires in the humidity measuring device.
The operator interface should have terminals tagged ODT. Sever the connection to the terminals, then check the resistance.
- If there’s little resistance, there’s been a short circuit.
- An open circuit will display high resistance. Therefore, if you get high resistance, it means the sensor is functioning.
- If there’s low resistance, it implies that your sensor is faulty and needs replacing, hence the error code.
#2. How to Fix Error Code E9 on Hisense Dehumidifier
A faulty sensor will bring up the error code E9. Fixing this code means getting a new sensor that will function properly.
The following steps will guide you on how to fix the humidity sensor in your dehumidifier.
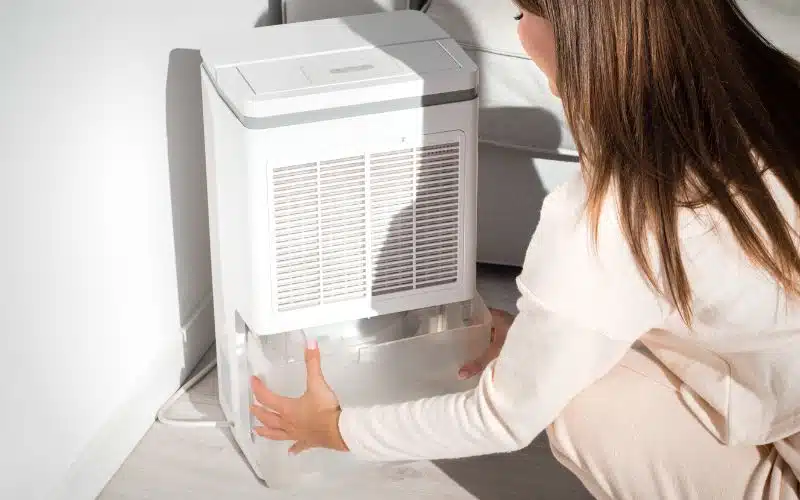
- Disconnect the dehumidifier and take out the bucket: Dehumidifiers let in humid air to filter moisture out of the air.
The dry air expels into the room while the moisture collects in a water bucket. Pull out this bucket from the dehumidifier.
- Remove the air sieve: The air sieve traps impurities from passing through and keeps the dehumidifier clean. In front of the grille, you can remove the air sieve.
- Unbolt the anterior grille: Two bolts at the foot secure the anterior grille to the frame. After unbolting, cautiously remove the grille from the appliance and place it nearby.
The anterior grille should be closed because of the wires connected to it.
- Pull out the rear panel: Unbolt the screws securing the rear panel to the dehumidifier with a screwdriver. Carefully pull the corner end to remove the rear panel.
- Pull out the exterior case: Use a screwdriver and unbolt the screws securing the dehumidifier’s exterior case, then tug it off.
- Bring out the humidity sensor: The sensor should now be accessible. Disconnect the cables connected to the dehumidifier’s control board.
Then, detach the wiring connecting the sensor, float control, and evaporator thermistor. Next, tug the sensor off the evaporator blades and out the appliance.
- Install the good humidity sensor and replace the previous components. Ensure you reattach whatever wires you disconnected, especially the ones on the control board.
Attach the exterior case and screw it into the dehumidifier. Do the same for the rear panel and the anterior grille. Finally, replace the air sieve and water bucket.
- Plug the appliance into the power outlet and turn it on.
The above solutions should help whenever error codes appear on your dehumidifier. However, if your dehumidifier has some performance issues, there’s a way to reset it.
Hisense dehumidifiers don’t have a reset switch. You can consult the manual and see how you can reset the appliance. The manual, however, might not have the answers.
Nevertheless, you can perform a power cycle to reboot the appliance and hopefully make it work properly.
You can also use the filter monitor reset option after sanitizing the filters to reboot the appliance.
The table below shows the two ways you can reset a Hisense dehumidifier.
| Reset Option | Effect |
|---|---|
| Power cycle | Reboot the dehumidifier’s system control and return it to the default setting. |
| Filter Monitor Reset | Resets the dehumidifier’s filter monitor. |
#3. Power Cycle
Power cycling is simply cutting off electricity from the appliance to reboot it.
The steps below will guide you on power cycling your dehumidifier.
- Switch off the appliance by pressing the OFF switch.
- Drain the water tank.
- Remove the plug from the wall for about fifteen seconds.
- Plug the appliance and put it ON.
A power cycle can reboot the appliance’s system controls. If you turn on the dehumidifier immediately after switching it off, the appliance won’t reset.
Ensure you allow some time to pass before switching it on.
#4. Filter Monitor Reset
This option re-tunes the dehumidifier’s filter monitor. The mechanism identifies how much filth is sitting on the filter.
The filter monitor signals you when the filter is heavy with filth. The filter monitor resets after you change it but rarely does after you sanitize it.
The following steps will guide you in resetting your dehumidifier’s filter monitor.
- Push down on the ‘Clean Filter’ key for 5 seconds.
- When the light goes off, wait between 5 – 10 seconds.
- Tap the ‘Clean Filter’ key once after the previous step.
- The display will reset to default, just like the filter monitor.
If none of the above options clears an error code, you can consult a technician to help you with your problem.