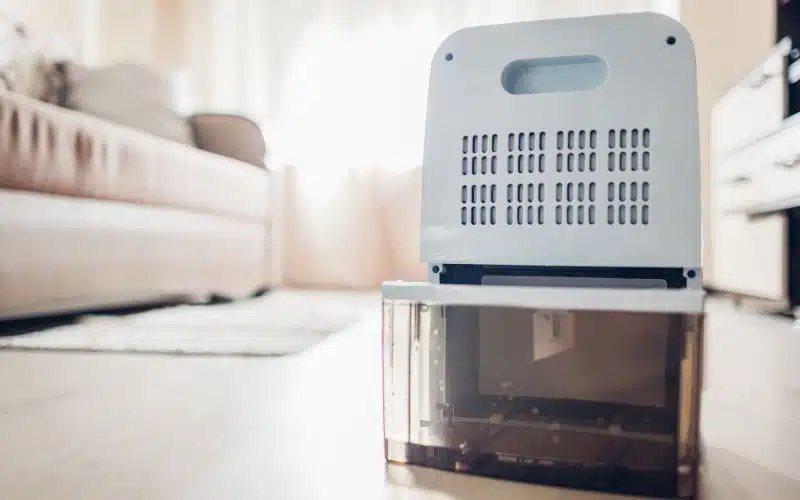
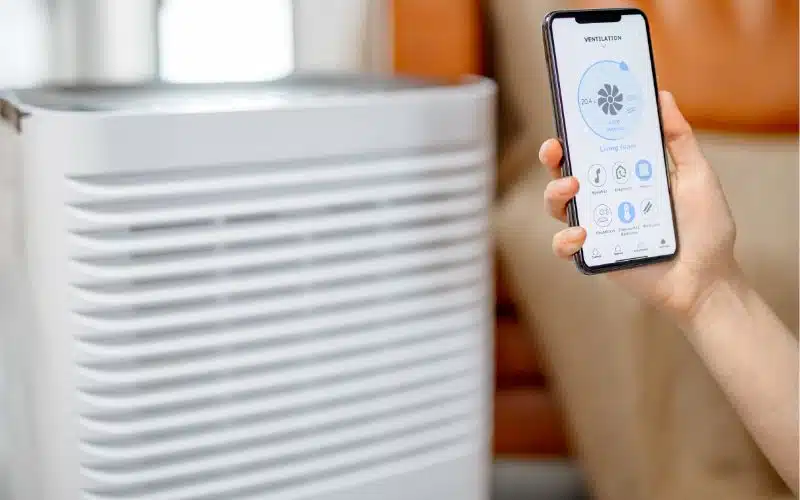
Whenever the humidity sensor on the dehumidifier malfunctions, there is an increased moisture content in your room or office air.
This could get annoying, especially if you do not know where the fault lies exactly. Fortunately, you can bypass the settings on your humidity sensor to get it working again.
On the other hand, putting your dehumidifier on bypass mode is never a permanent solution for any malfunctions it may have due to your daily use.
When you want to bypass the humidity sensor of your dehumidifier, unplug it from the power supply and then use a screwdriver to remove the back panel. After this, loose the screws attached to the sensor wires and pull out 1/2 inch of its insulation copper. Finally, replace the back panel and plug your dehumidifier into the power source.
In this article, I’ll walk you through the step-by-step process of setting your Hisense dehumidifier in bypass mode.
I’ll then teach you how to fix how to find and replace the humidity sensor on your hisense dehumidifier. So, without further ado, let’s get right into it.
What Does the Humidity Sensor Do in a Hisense Dehumidifier?
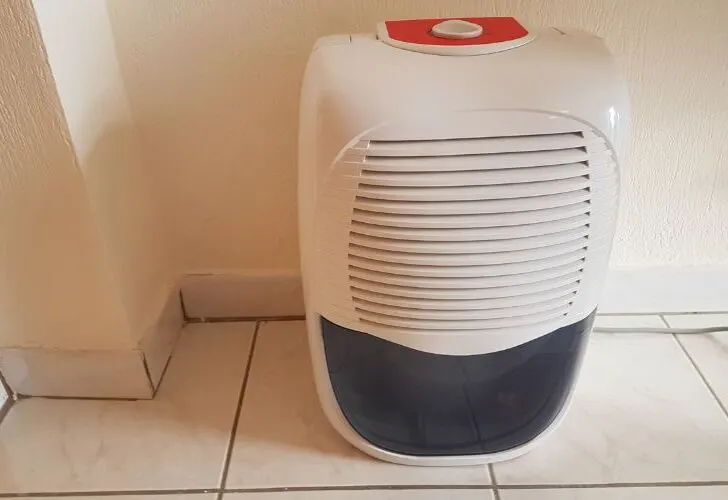
The primary role of a humidity sensor is to detect changes in humidity levels in the environment and then convert the results into data that they process as electrical signals.
They also come in varying sizes. Some can be portable and used as handheld devices.
Some others can be much bigger and embedded in other systems, like the HVAC system in your facility.
Most times, people talk about controlling CO2 and air quality but forget to talk about the humidity levels in the environment.
However, controlling humidity levels and air pollutants are both significantly important since they have a great impact on the lifespan of most of your home appliances.
Several factors contribute to faulty humidity sensors, include
- Age of the humidifier
- Clogged vent pipes by dirt and dust
- Poor maintenance practices and hygiene and
- Space availability in your facility
Fixing any of these issues could get the job done without you having to go through the central trouble of having to put your Hisense dehumidifier in bypass mode.
However, after performing a bypass and your humidity sensor is still not working, you should purchase a new machine or seek professional help.
Here are three benefits of installing a humidity sensor in your facility:
#1. Helps Maintain Humidity Levels at a Bare Minimum
Humidity levels impact most offices and homes above the recommended threshold. Installing a humidity sensor is paramount to protect materials and equipment in your facility.
Furthermore, public buildings such as museums, schools, and hospitals should have humidity-control facilities to protect and maintain the equipment within such buildings.
#2. Enhanced Comfort
Every public building should have a humidity sensor for comfort, health, and hygiene.
To this effect, wall-mounted humidity sensors do a very good job of calibrating, controlling, and optimizing the HVAC system in your facility to get improved comfort as you stay there.
#3. Energy Saver
Both wall humidity and handheld sensors help to check and accurately detect the indoor climate and, as an extension, reduce the amount of load exerted on your climate control system.
They do this by enhancing the RH levels and increasing the system capacity, which saves energy.
Can Your Hisense Dehumidifier Work Without a Humidity Sensor?
Of course, it does. However, removing the humidity sensor requires putting your dehumidifier in bypass mode.
While using DIY steps to perform this task is safe, I recommend consulting your owner’s manual for detailed guidelines.
After all, the manufacturers are the producers of your machine and have in mind the best way it should get treated or put to use.
On the other hand, you can contact professionals for their services since they know better how to handle such delicate tasks as putting your dehumidifier in bypass mode.
Butt this does not mean you wouldn’t if you still want to perform this task on your own without having to pay extra cash to professionals to fix it up for you.
You can, but having an in-depth understanding of the entire process is a huge plus, and precision is guaranteed.
Here is a guideline for removing the humidity sensor on your dehumidifier:
- Switch off your dehumidifier and unplug it from the power supply.
- With a screwdriver, loose and remove the back panel of your dehumidifier.
- After doing this, you will notice two wires connected to the switch motor.
- The switch motor is at the bottom, where you will notice the sensor as a one-inch black cube.
- The next thing to do is to lose the screws holding down the sensor using a Screwdriver .
- You will notice two Y-shaped clips fall apart from the screws holding the wires.
- On each wire, cut out ½ inch of its insulation copper.
- Tighten the screw after you connect the two ends of the wire on the first and second screw terminals, respectively.
- After that, replace the back panel and screw them in using a screwdriver.
- Connect your dehumidifier to a power source and test to see if it is running.
Even though bypassing your humidity sensor seems like the best option for troubleshooting your Hisense humidifier, not all Hisense humidifiers support this.
For some, once the humidity sensor gets removed, several other issues will begin to develop, and in no time, your humidifier will be defective.
Luckily, if you own the Hisense 35-pint dehumidifier, you can perform a bypass efficiently without worrying about anything.
The 35-pint Hisense dehumidifier is reliable, portable, convenient, and efficient, making it top among ten other dehumidifiers.
Below is a table showing the pros and cons of the Hisense 35-pint model
| Pros | Cons |
|---|---|
| Portable and compact | It comes with a maligned drainage port |
| It has an automated air-removal filter | Reliability issues on some compartment |
| Suitable for use in low-temperature | Noisy |
7 Steps to Bypass the Humidity Sensor on Your Dehumidifier
As mentioned earlier, humidity sensors detect the moisture content in the air in a densely packed environment or building.
They do this by expelling the excess water in the room through vents and pipes. Occasionally, the humidity sensor will malfunction due to a clogged vent or a worn-out pipe.
When this happens, you should first troubleshoot your dehumidifier by putting it on bypass mode.
Here are seven steps to bypass the humidity sensor on your dehumidifier.
Step 1: Switch It Off
Switch off your dehumidifier and unplug it from the power supply.
Step 2: Unscrew the Back Cover
Loose and remove the back panel of your dehumidifier by using a screwdriver. After doing this, you will notice two wires connected to the switch motor.
The switch motor is close to the bottom, where you will notice the sensor as a one-inch black cube.
Step 3: Loosen the Sensor
The next thing to do is to lose the screws holding down the sensor using a screwdriver. When you do this, you will notice two Y-shaped clips fall apart from the screws holding the wires.
Step 4: Cut the Insulation Copper
On each wire, cut out ½ inch of its insulation copper. You should be particularly precise about this since the wire is a short, lengthed 18-gauge wire.
Step 5: Tighten the Screws
Tighten the screw after you connect the two ends of the wire on the first and second screw terminals, respectively.
Step 6: Replace the Back Cover
After tightening the screws, ensure you replace the back panel and screw them in using a screwdriver.
Step 7: Plug It In
You can now connect your dehumidifier to a power source and check if it is running.
Is It Safe to Bypass the Humidity Sensor on Your Hisense Dehumidifier?
Of course, it is safe to bypass the humidity sensor on your hisense dehumidifier. If done correctly, you will get your machine fixed and troubleshoot successfully.
However, before doing this, you can read more about the procedures from the steps mentioned in this article.
Alternatively, check your owner’s manual to understand the whole process better.
Contacting customer services can also go a long way in helping your humidity sensor in bypass mode.
Nevertheless, if you want to perform a DIY step-by-step on the humidity sensor of your dehumidifier, here they are:
- Switch off your dehumidifier and unplug it from the power supply.
- Remove the collection bucket from the dehumidifier case.
- After this, pull out the air filter and clean it if it is dirty.
- Remove the front screws and front grills delicately.
- Unscrew and remove the back panel.
- Next, unscrew and remove the outer case.
- After doing this, you can now go ahead to remove the sensor.
- Install your new sensor and reassemble your dehumidifier compartments.
- Lastly, plug your machine back into the power source.
How to Find and Replace the Humidity Sensor on Your Hisense Dehumidifier?
If you want to replace the humidity sensor on your dehumidifier, you could either choose to use the services of a professional or follow DIY steps and guidelines on how to repair it.
Here is the DIY repair guide for replacing the humidity sensor;
- Switch and disconnect the sensor from the socket.
- Remove the collection bucket from the dehumidifier case.
- After this, pull out the air filter and clean it if it is dirty.
- Remove the front screws and front grills delicately.
- Unscrew and remove the back panel.
- Next, unscrew and remove the outer case.
- After doing this, you can now go ahead to remove the sensor.
- Install your new sensor and reassemble your dehumidifier compartments.
- Finally, plug your machine back into the power source.
